A measurement object is one of the three object types in Stratsys and is used when there is a need to collect data in the form of outcomes or response options. A measurement object can be a KPI, an indicator, or similar — but it can also be a risk.
This article outlines the process of adding, modifying, and removing a measurement object within the object window and the new table tree structure view. For instructions on how to perform these actions in the classic editing window, you can refer to the following link: Add and Modify Measure Nodes - Classic Editing Window.
Please note! Measurement objects within the products often have different names, but they serve the same fundamental purpose. Common terms used for columns that contain measurement objects include indicators, key performance indicators (KPIs), risk metrics, performance metrics, and measurement values.
Quick links:
Step 3: Follow up and periodicity
Step 5: Connections, sub-objects, allocation, and event history
Edit or delete a measurement object
In Stratsys, measurements are utilized to measure specific parameters at regular intervals, using either data inputs or predefined response options.
A measurement object encompasses all the components of a text object, while also including columns that allow users to report various values over set reporting periods. Often, multiple measurements are configured similarly and can be based on Measurement Templates.
In addition to gathering outcome data, measurements are also used to assess risks, which are typically evaluated using predefined response options.
Users also have the opportunity to add comments or analyses related to the outcomes for a given period. At the end of the reporting period, responsible parties can receive reminders from the system via the to-do list and email notifications. The method and frequency of these reminders depend on the settings established for their organization.
Please note! The ability to add, modify, or delete objects is determined by the permissions assigned to you as a user. Additionally, there are settings within the product that can dictate whether you have the rights to perform these actions at different levels. If you are unsure about your responsibilities or what is expected of you, please reach out to your administrator for clarification.
Add a measurement
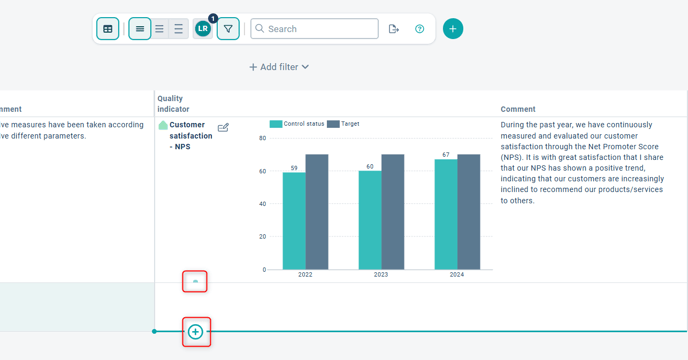
To add a new measurement, click on the plus sign that appears when you hover over the crescent moon icon. Once you click the plus sign, the object window will open, allowing you to proceed with the creation of your measurement.
Step-by-step guide for creating a measurement
Below is a step-by-step guide outlining all the settings in the order they should be configured when creating a new measurement. In some cases, measurements can be imported from external systems or other products. This article will guide you through the process of creating a measurement independently.
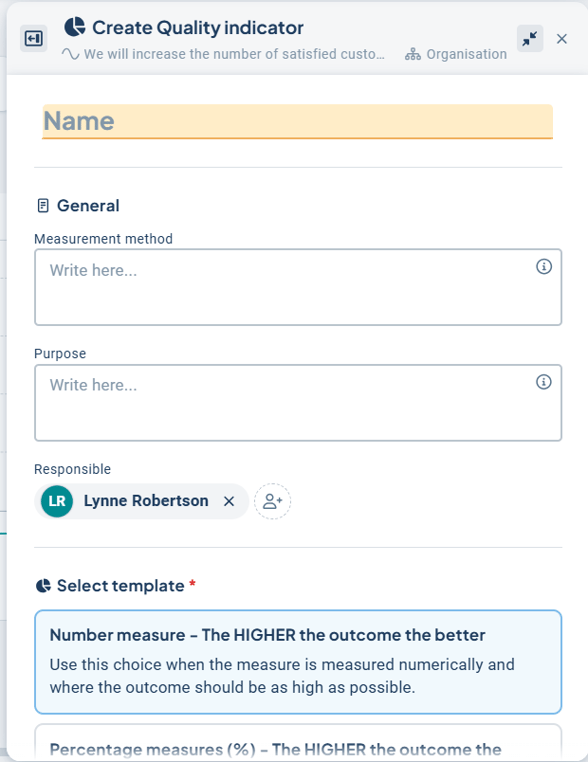
Step 1: General Information
In the object window, all settings are displayed on a single page, eliminating the need to switch between tabs to access different settings. The first section, "General Information," includes fields for the name of the object and typically several description fields related to the type of measurement you wish to add. Examples of description fields may include definitions, measurement methods, sources, purpose and more. If your organization works with accountable parties, you will also define who will be responsible in this section.
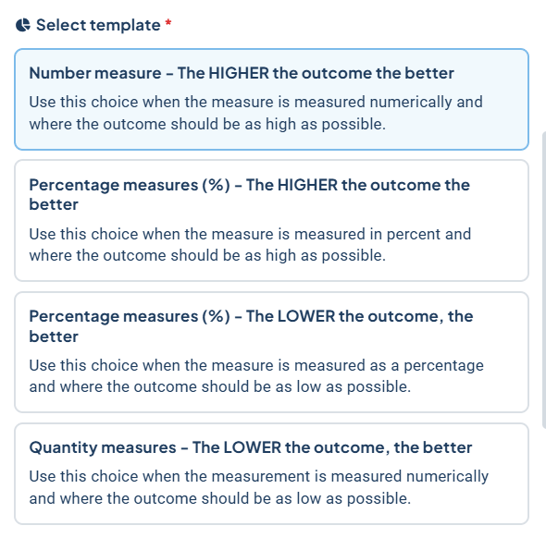
Step 2: Measurement Template
In this section, you will configure how the measurement will be assessed by selecting an appropriate measurement template. In some instances, there may be only one available template, which will be automatically selected. However, if there are more templates to choose from you always have the option to switch to a different template if it better meets your specific needs for the measurement you are creating.
Measurement templates are designed to collect data in a particular manner. If you mistakenly choose an incorrect template, you can make adjustments to the settings of the measurement later on. However, the selection of a specific template occurs only during the initial creation of the measurement. As an administrator, you have the ability to create new measurement templates within the administration panel. For more information on measurement templates, please refer to the relevant documentation.
If you wish to make changes related to the measurement template, the measurement must first be created. After this, you can access the settings by clicking on the gear icon to make any necessary adjustments. Further details regarding these modifications are provided below.
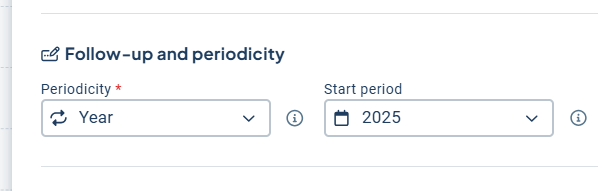
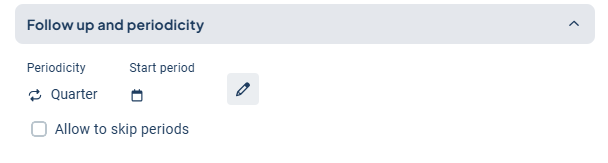
Step 3: Follow up and periodicity
1) Periodicity: In this section, you will select the reporting interval for the measurement. Typically, there are several options available to choose from. The options displayed in the list depend on the active frequencies configured in your database. For instance, if you select an annual periodicity, the results (data or response options) will need to be reported once a year.
Step 4: Create
Once you have filled in all the required information, click on the "Create" button to make the measurement visible in the view. If you wish to make changes to the measurement settings, distribute the measurement to additional units, or add further connections, several sections in the object window will become visible immediately after you click on "Create."
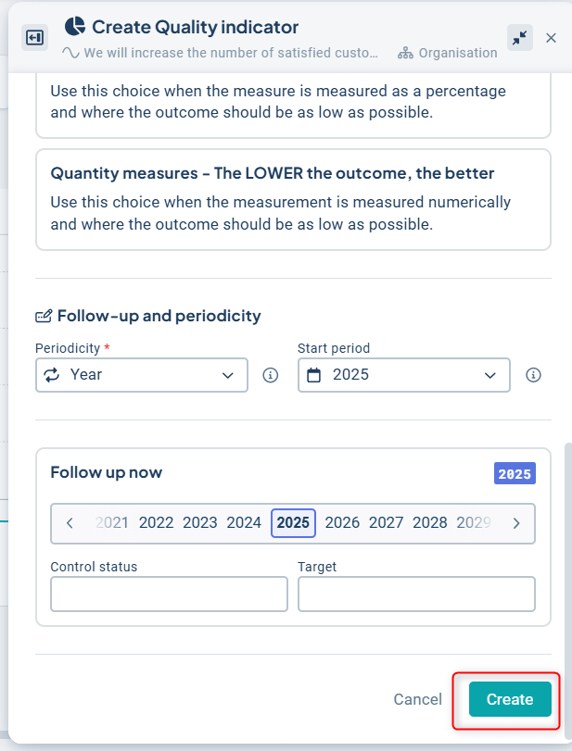
The image below illustrates the additional sections in the object window that will appear after you click on the "Create" button:

Connections
Connections illustrate how information within Stratsys is interconnected and governed by the established linking rules for the product. As a user, you cannot modify these linking rules, but you must adhere to them when attempting to connect or reassign information.
Measurements can have multiple connections, as the information may be relevant to various products. For instance, a risk may pertain to your Sustainability product but also be part of your work within Risk and Control , eliminating the need to create this risk twice; instead, it can be linked through connections.
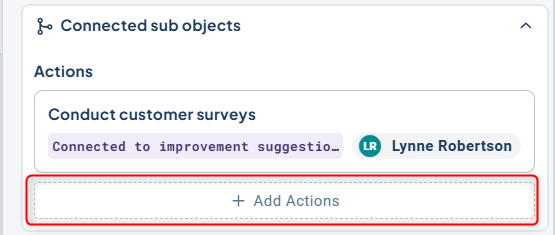
Connected sub-objects
If the view is structured to allow it, you can create connected sub-objects directly within the object window. Additionally, you can check for any existing sub-objects.
In the image below, you can see current activities associated with the measurement, and there is also an option to create new activities. If your organization has AI enabled, you can use AI to generate suggestions for suitable activities. The types of objects that can be connected to the measurement depend on the specific product you are using and its configuration.
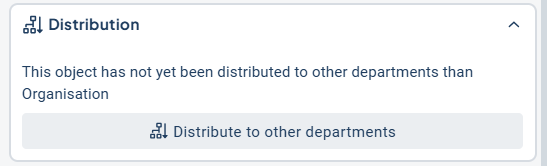
Distribution
If desired, measurements can be distributed to subordinate units, which will also have the opportunity to report data from their respective levels.
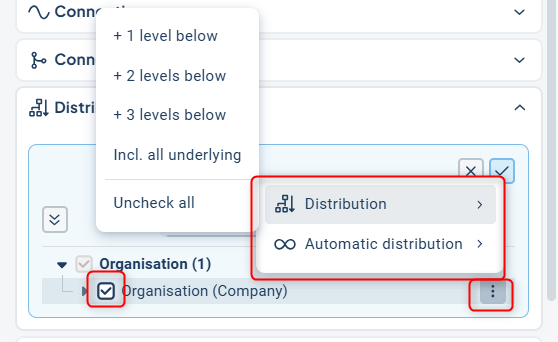
1) To select which units should report on the measurement, check the boxes next to the appropriate units. If there are many units to select from, you can use the three-dot menu next to a unit name to quickly distribute the measurement based on the principle of +1 level down, +2 levels down, and so on. Through the "Automatic Distribution" feature, you can set it so that any newly added future units will automatically receive the measurement.
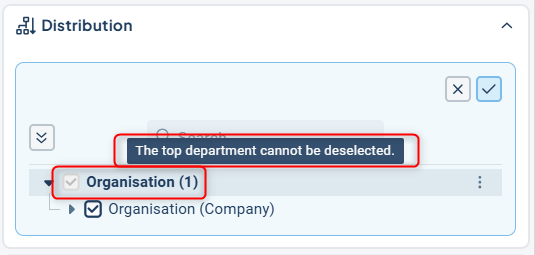
If the unit you wish to select is grayed out, it may be due to the higher-level unit not being checked – the chain must remain unbroken, meaning you cannot skip a level and then select the level below. Additionally, ensure that the objects the measurement is connected to also exist at the subordinate units; otherwise, there will be nothing for the measurement to link to. If this is not the issue, hover your cursor over the grayed-out unit to display an explanation of the problem.
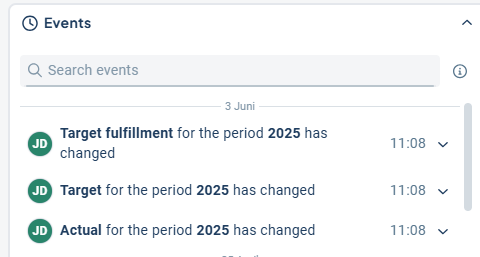
Events
This section displays the most recent activities related to the object, such as when it was created and any subsequent changes made.
Step 6: Settings
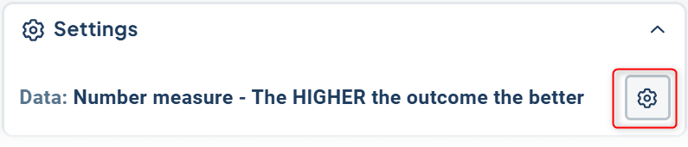
Once you have found and selected a measurement template that meets your needs, you generally won't need to make further adjustments to the settings. However, if changes are necessary, this section provides options that affect the reporting process.
To access these settings, simply click on the section and then click on the gear icon.
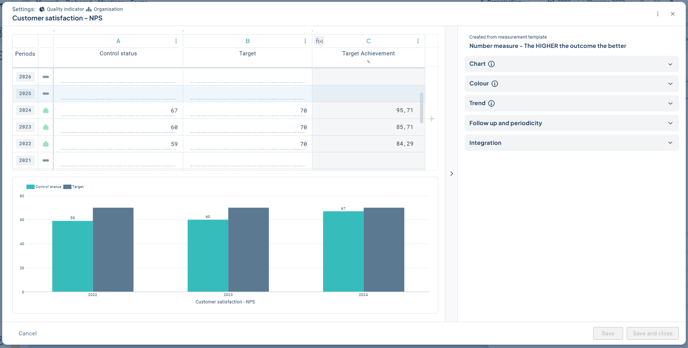

In the column settings, you will find options that influence how data is entered into the measurement. Here, you can configure elements such as prefixes and suffixes, column types, whether data should be reported as numbers or response options, and whether the column should support consolidation for various units.
Different columns may have unique requirements for data collection, which can be adjusted using consolidation formulas. For example, you may want to establish common target values, with some levels reporting actual outcomes while others serve as aggregators. This means that data can be consolidated in various ways depending on the specific needs of the measurement and for individual columns within that measurement. Here you can read more about the consolidation formulas.
If a column is set to be consolidated, the following symbol will appear on the far left of the measurement data column:

B) Diagram Settings: Measurements are often visualized through charts. Adjust which columns should be used for the chart or what style it should have in the chart settings.
C) Color Settings: Learn more about color settings in the article on Measurement templates.
D) Trend: Learn more about trend arrows can be found in the article on Measurement templates.
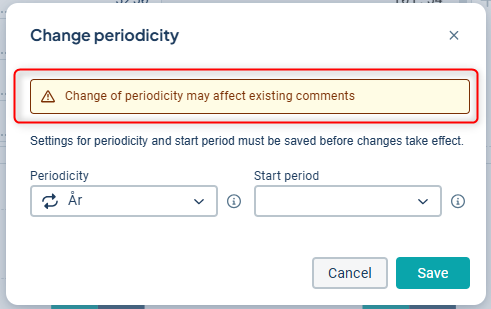
E) Follow-up and Periodicity: If you wish to change the reporting interval or allow for skipping periods, this is where you can make those adjustments. Be aware that switching the periodicity from, for example, Monthly to Yearly may result in the loss of both outcomes and comments. It is important to keep this in mind before making any changes. In many cases, it may be easier to create a new measure with the new periodicity and carry over the desired comments and outcomes if you want to include history.
Step 7: Finish
You don't need to click save anywhere. Once you're satisfied with your settings, simply closing the object window will save the information. After you close it, a dialog will appear notifying you that your information has been saved.
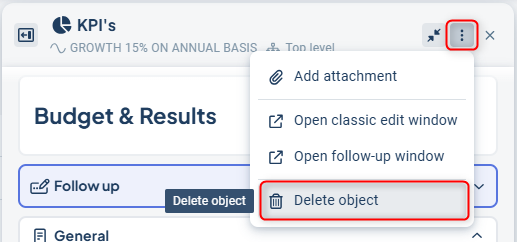
Edit or delete a measurement object
You can edit a measurement object by clicking on the measurement in the view. Doing so will reopen the object window.
Make your desired changes in the object window, then close the window, and your changes will be saved automatically.
If you wish to delete a measurement object, you can do so via the three-dot menu in the upper right corner of the measure. This is also where you can add attachments to the object.