Quick links:
This article also describes settings that are the same for the other two node types (activity and measurement nodes). Settings that only apply to text nodes are clearly marked.
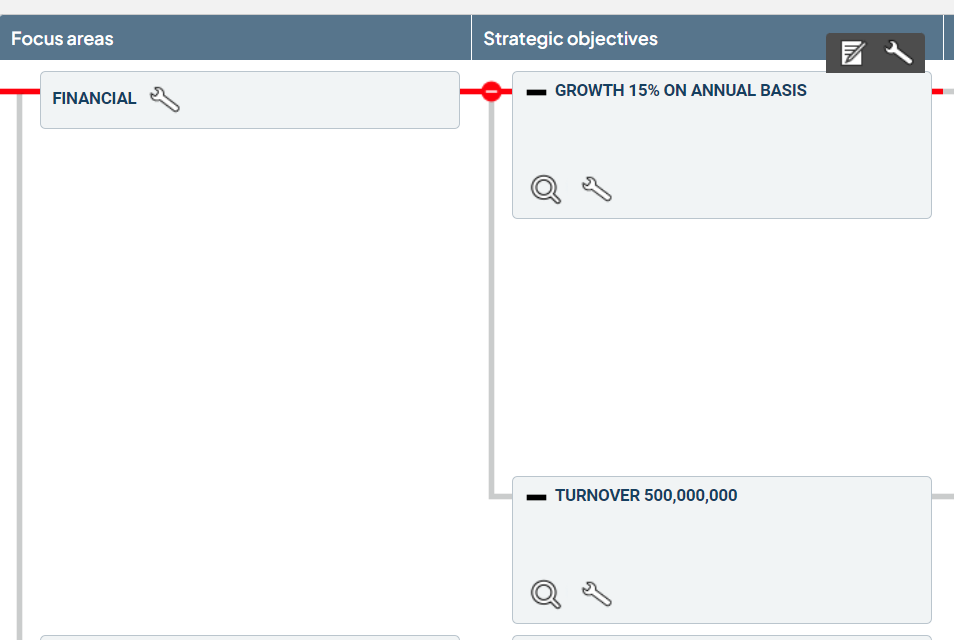
A text node stores text and is typically used in the initial columns of a scorecard. Text nodes are commonly created at the top or at higher levels of the organization but are made visible to underlying departments.
Common column names containing text nodes include goals, perspectives, areas, success factors, and focus areas.
Add a new node
Tab: General
The text boxes and other fields displayed when creating a node vary as these fields are entirely configurable. Therefore, the number of fields can vary in terms of both quantity and their naming. A basic set could include:

1. Node Name
Here, you enter the name of the node. While longer names are allowed (up to 50 characters), it's recommended to keep the name concise and provide more detailed information in the description field.
2. Description
Here, you provide the description of the node. It can be appropriate to offer a more detailed and complementary description to the name.
3. Responsible Individuals
Here, the individuals responsible for the node are indicated. Depending on permissions, you can remove or add responsibles here. The node will appear on the user's homepage when it's time for reporting, provided the to-do list is set up as such. You start typing the name of the user you want to assign as responsible and select from a list.
4. Keyword Group
Any keywords are selected by clicking the arrow button under the heading with the keyword group's name. It's also possible to enter the keyword's name. In the dropdown list that appears, there's a list of keywords from which you choose which keyword should be associated with the node.
Click the next button to proceed to the departments step.
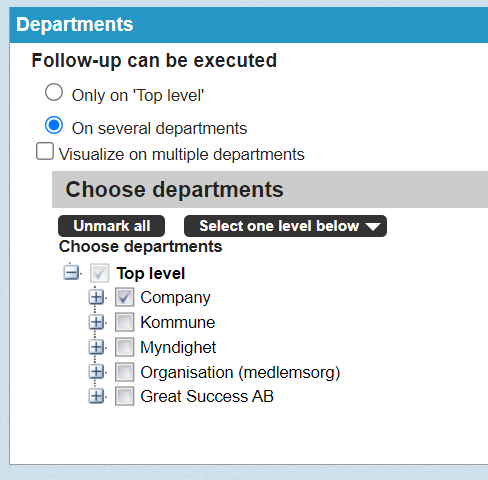
Tab: Departments
Here, one or two options are displayed depending on the settings regarding the visibility of the text node you are creating. The "Only on" option means that the node you are creating will only be visible on the unit you are currently on. The "On 'Organization' and multiple units" option means that the node will be visible in the view for the units you choose in the unit step at the bottom. These units will only be able to read the information in the node, not perform any reporting or editing (depending on whether the comment setting "one comment for each unit" is selected, each unit can write its own comment). Read more in Comment settings. You use the checkboxes to select which departments the text node should be visible for.
Click "Next" to proceed to the final step in creating the node.
Tab: Confirmation
Here, a summary of the configuration you have made for the text node is displayed, giving you an overview of how the node will look. Click "Finish" to create the text node.
In the view settings, an administrator can specify whether nodes can be selected from other scorecards. If this option is enabled, you will have a choice when adding a new node, either to add a completely new one or to select an existing one. If you choose "Select existing," you will have the opportunity to choose nodes from the current scorecard or from other scorecards. The columns and scorecards you can choose from depend on the settings in your scorecard.
You start by selecting the scorecard from the dropdown list labeled "Scorecard."
In the free-text search, you can type in a name and search for the text node you want to select. If you click on "Show all," all text nodes based on your scorecard choice will be displayed. The search results are shown in the textbox below. Some nodes cannot be selected. When you hover your mouse over the name, an information box will appear explaining why you cannot select that specific node. The most common reason is that the node already exists in the scorecard. To select a node, click on the checkbox to the left of the node name.
After selecting your node, you can choose to include everything linked to the node or the entire consolidation chain by checking the box to the right of the node in the search results. However, it's not possible to select both the entire consolidation chain and everything linked to the node.
Click "Save and close" to create the node.
A window opens with three tabs: General, Links, and Units.
Tab: General
The appearance of this tab is determined by the system settings regarding what should be displayed. However, the same information is always displayed in all nodes in the same column. The tab contains various description fields, management of responsible individuals, and keywords.
Tab: Connections
Here, the connections that the node has are displayed. If the node has multiple connections, it means that it appears in several different places. For example, if you change the node's name in one of these places, the change will be reflected in all the places where the node is connected. Don't forget to click the Save button after making a change.
Tab: Scorecard
In cases where the linking rules allow the node where you are making settings to be linked to another scorecard, specify in the drop-down list which scorecard the node should be linked to. In cases where there are no two scorecards between which links are allowed, the Scorecard drop-down list is not visible in the window.
Tab: Column to place in
Specify in the Column to place in drop-down list which level in the selected scorecard (specified in the Scorecard drop-down list) the node should be placed in.
Tab: Node to link against
Here you can see all the nodes that are possible to link against. Scroll through the list and select the node you want to link against.
Tab: Order
Here you specify which placement the node should have in relation to other nodes that are linked to the same parent node. This does not mean that the node will have the same order on all underlying units.
Tab: Include also
Depending on previous settings, there are a maximum of two checkboxes here, only one option is possible to choose:
Everything that is linked to the node - check here if you want to move the entire node’s link chain to the new parent node.
The underlying consolidation chain - check here if you want to move the entire node’s consolidation chain to the new parent node.
When you have made your choices, confirm by clicking on the Save button.
Tab: Change link
Here you can change the link on the current row. When you press the edit icon, a window opens where you make settings in the same areas as described in Add Link.
When you have made your choices, confirm by clicking on the Save button.
NOTE! The difference between changing a connection compared to deleting it and then adding a new one, is that when you change it, the connection tree (which is under the connection) also follows to the new position.
Remove connection
Here you can remove the connection from the current row. Press delete, and a delete dialog will appear with all nodes that are also affected by the removal of the connection. Note that it is possible that nodes on other departments than the one you are on will be deleted nodes and or connections. It is not always that these nodes are displayed in the view you see. If you only have one connection left and you want to remove it, it is not possible. The entire node must then be deleted instead since at least one connection must exist for a node.
Click on the edit icon
Click on the Delete button at the bottom left of the node.
If nothing is connected to the node on the department you are in or underlying departments, a box will open where you can choose whether to delete the connection or delete the node from all scorecards. If you want to delete the node from the scorecard but with the possibility of being able to choose it at a later time, choose to delete the connection, otherwise you can permanently delete the node by deleting it from all scorecards. Then confirm the deletion by clicking Confirm.
NOTE! If there are other nodes connected to the node you are trying to delete, everything that is connected to the node will also be deleted.
When you click on the Delete button and there are connections in other scorecards on the node you are going to delete, you will be presented with a table with the columns Scorecard, Nodes and connections to be deleted.
In the Scorecard column, you can see which scorecards the node is included in.
In the Nodes to be deleted column, you can see how many nodes are connected to the node that you are going to delete (these nodes will also be deleted).
In the Nodes where a connection is deleted column, you can see how many nodes are connected to the node that will also be affected (these connections will also be deleted).
Click on the Confirm button.