With Stratsys Do-board you can smoothly prioritize, prioritize, refocus, focus and collaborate - work efficiently and clearly with your daily tasks. You and your employees can document details and keep track of status in different parts, while you see the development of your work as a whole.
Learn more about the benefits, purpose and use in our blog post!
Articles include:
- Summary of features
- Review of the features
Stratsys Do-board is accessed by all users who are authorized to work in Stratsys. The functionality consists largely of one or more boards as well as a left menu that allows you to navigate between different boards and create new boards.
- There is the possibility to create unlimited number of boards. For example, you have a board for yourself or another board with a project group.
- Administration is done on each board
- All users can Administer the boards themselves have created as they then become Owner of. Administrator privileges.
- Only the owner of a board can administer the board.
- You as the owner of a board can invite others to your board which then becomes Participants. You can also be invited to other people's boards and then self-become a participant on their boards.
Possibility to expand/minimize Do-board menu
The do-board menu appears in expanded mode by default but can be collapsed for to give the board more space.
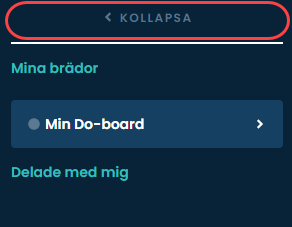
The menu then looks the following:
Create and administer board
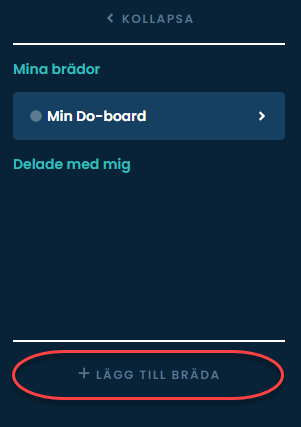
There are two entrances to stratsys do-board and thus to create a board:
A) Via its own product icon in the left menu

Here you create a board by clicking on "Add board" at the bottom of the Do-board menu on the left side.
B) Via knapp i header

Then you skip the first step and enter Stratsys directly into Stratsys Do-board and specifically on the board you've chosen to create.
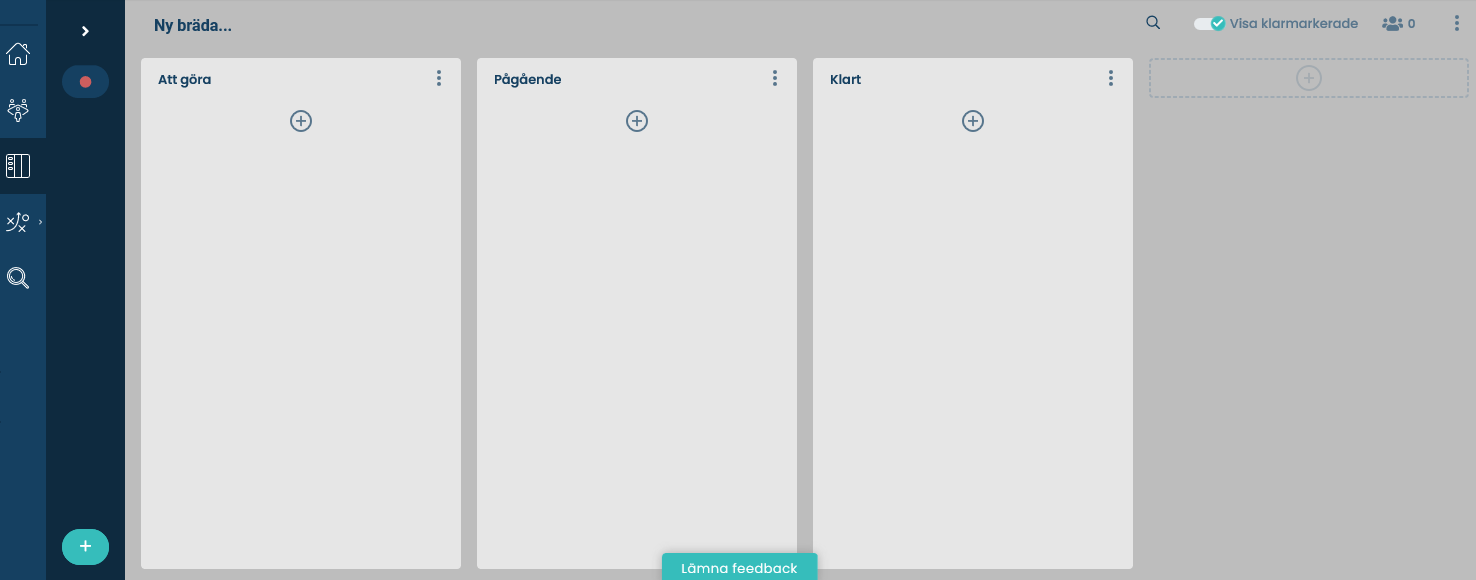
Your first board
In order for you to get started quickly, it is automatically created up:
- A name on your board
- Three columns: Making, Ongoing, Clear.
Change the name on the board
You very easily replace the board's name by simply putting yourself in the name bar and saves by clicking outside: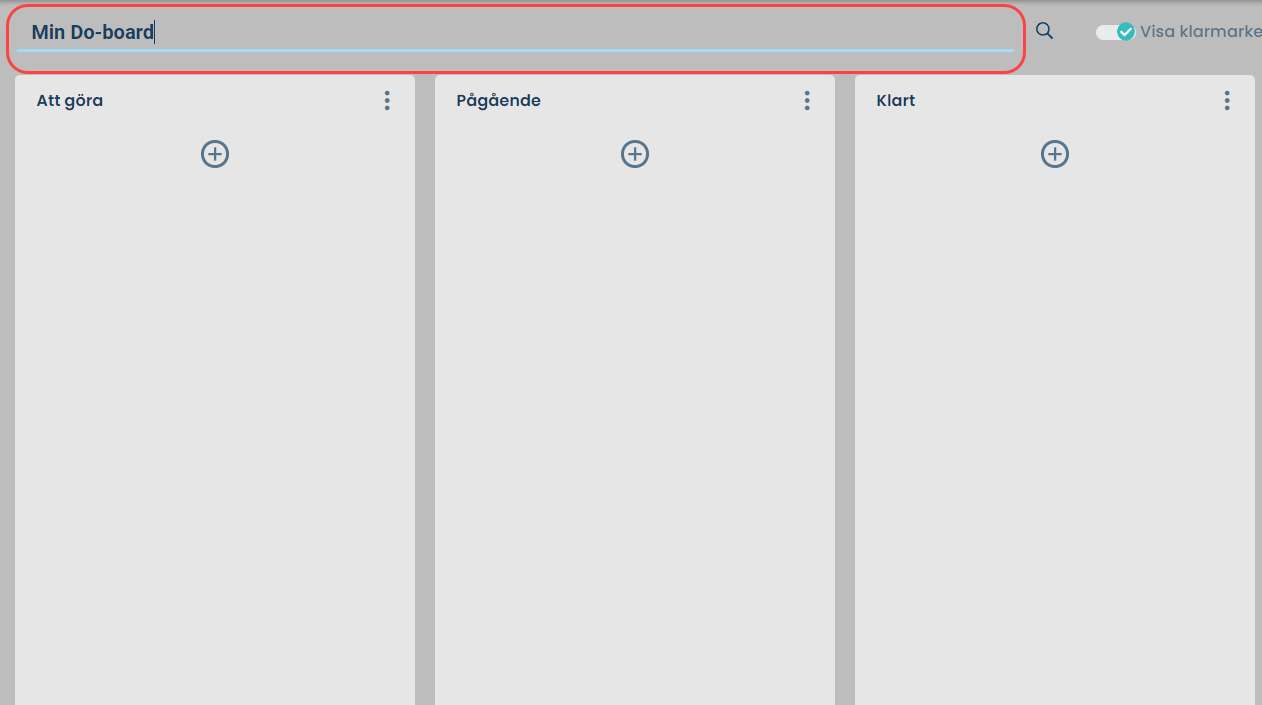
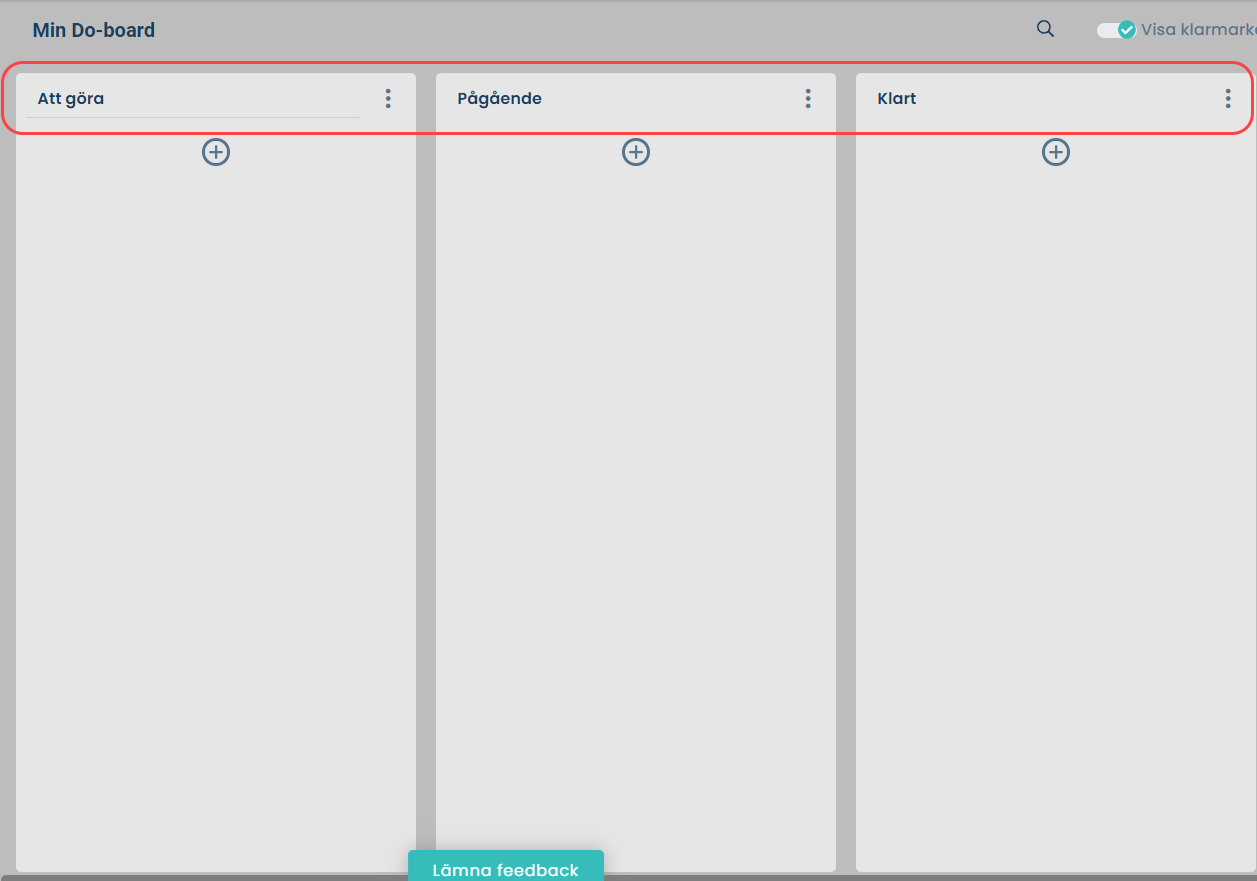
Change the name of columns
Similarly, you easily replace the name of the columns by name bar on the column:
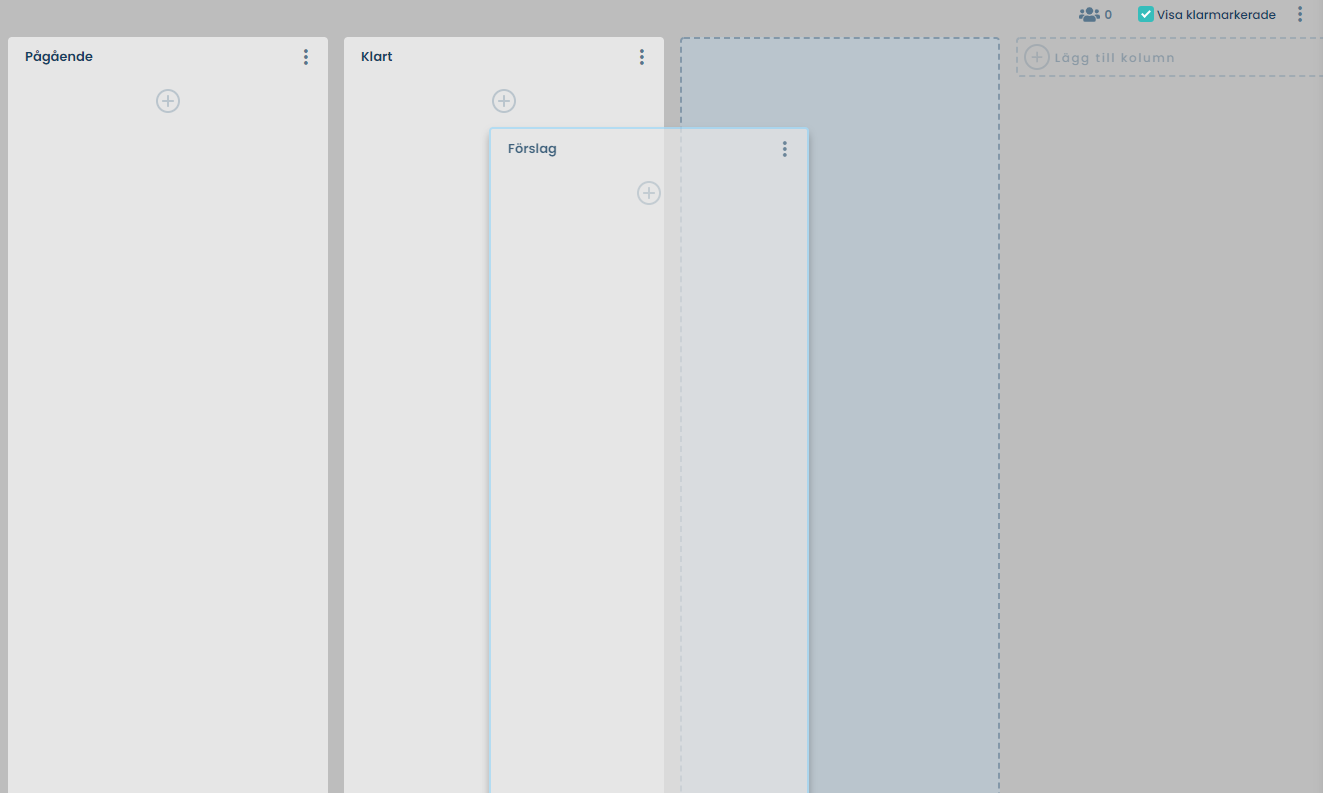
Move columns
All columns can be replaced using drag-and-drop. Grab a column and draw it where you want.
Add more columns
You easily add new columns by clicking on "+Add column" in the surface to the right of the last column.
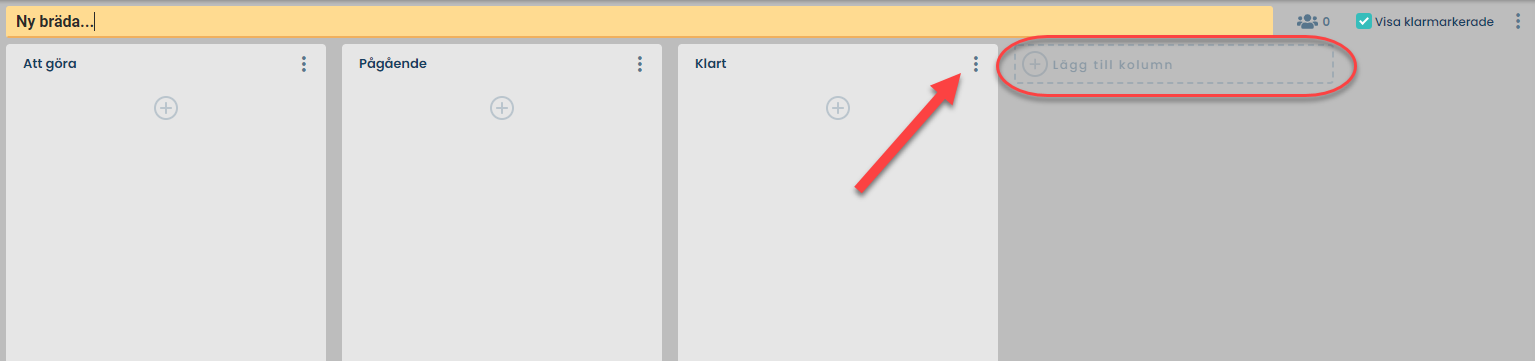
In this way, you can create your own flow for your projects or daily work.
Remove columns
You simply take a column using the three dots in the right column Corner:
Share your board with more
Once a board is created, as the owner of the board, you can share it with your colleagues Using the icon in the top right of the board:


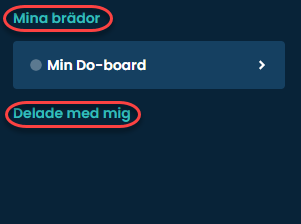
If you have been invited by a board from another user, these to appear in the menu on the left under the heading "Shared with me"
See the difference between your own boards and the ones your colleagues have shared with you
In the Do-board menu, you can easily tell the difference between the boards you have created and the ones you are invited to and can easily navigate between the boards.
Create an activity (a card)
Unlimited number of activities can be added to a board. It is also possible to to add activities to all columns.
You do that by:
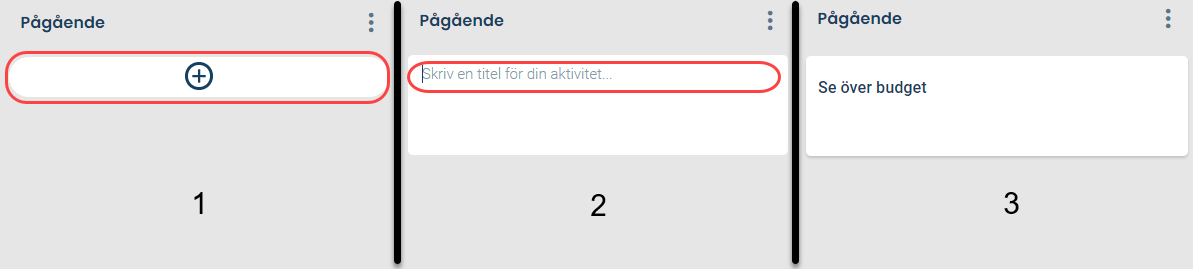
1. Click on the plus sign at the top of the column where you wish to add the activity.
2. Give the activity a name by filling out the "Write a Title for Your Activity...?"
3. You save easily by clicking "Enter" on the keyboard. Then you become yourself automatically responsible for the activity.
Fill in information for the activity
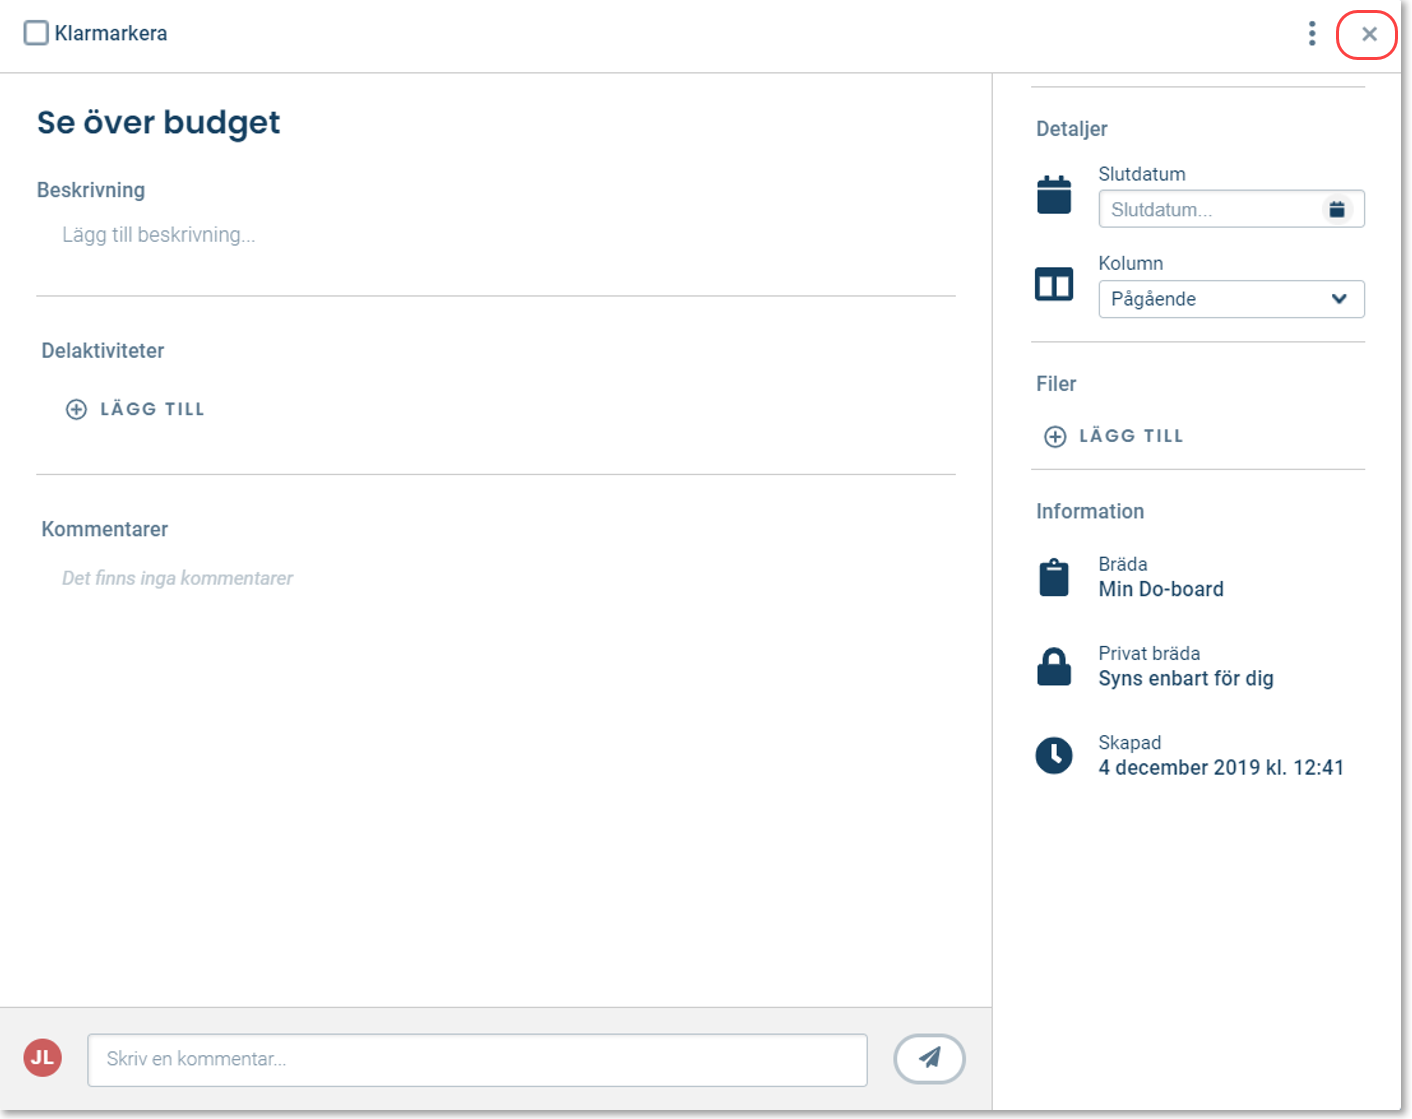
Once you create an activity, click the activity/card to supplement with additional information.
From the kan:
- Change the name of the activity/card
- Add a description
- Create sub-activities
- Communicate with other participants about the current activity by Comment
- Mark as completed
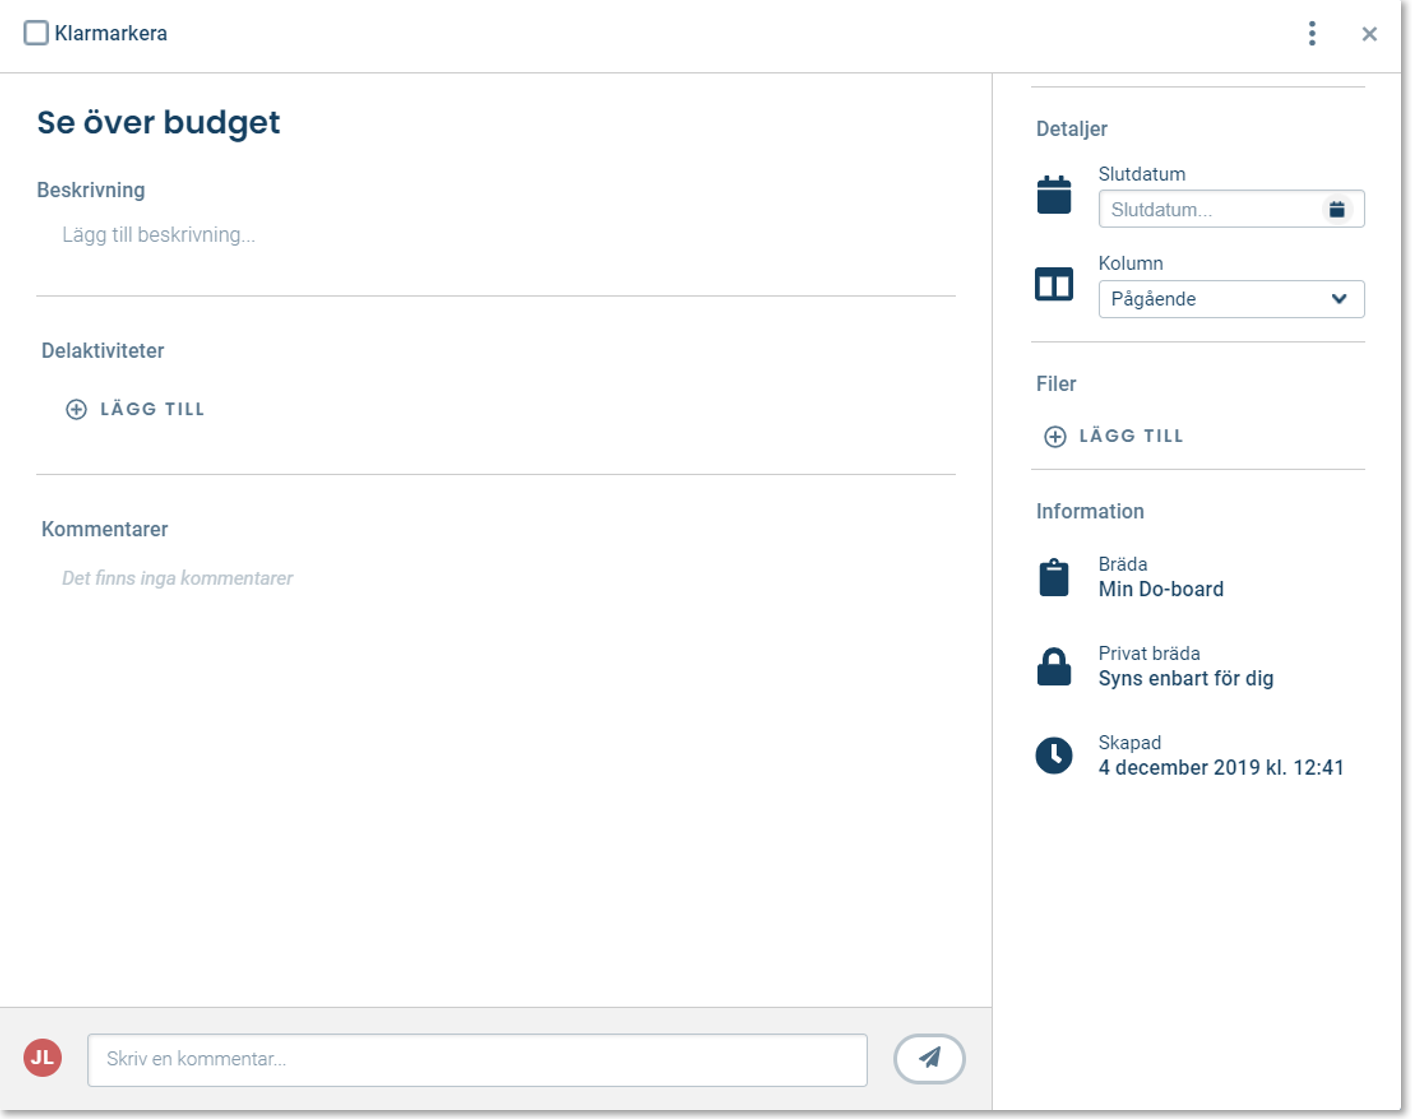
You can also see more detailed information around:
- See if the board is private or shared with others
- Set an end date
- Choose which column event should be placed i
- Allocate responsibility
- Bifoga filer
It's easy to save
On the board and activities there is no save button. Instead, the information is saved Automatically.
To close the activity and work on, click the cross in the right corner:
Remove activity
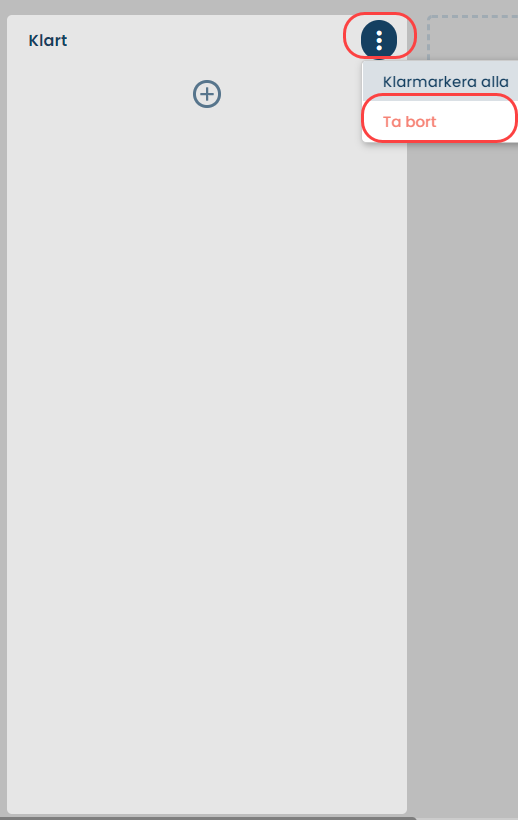
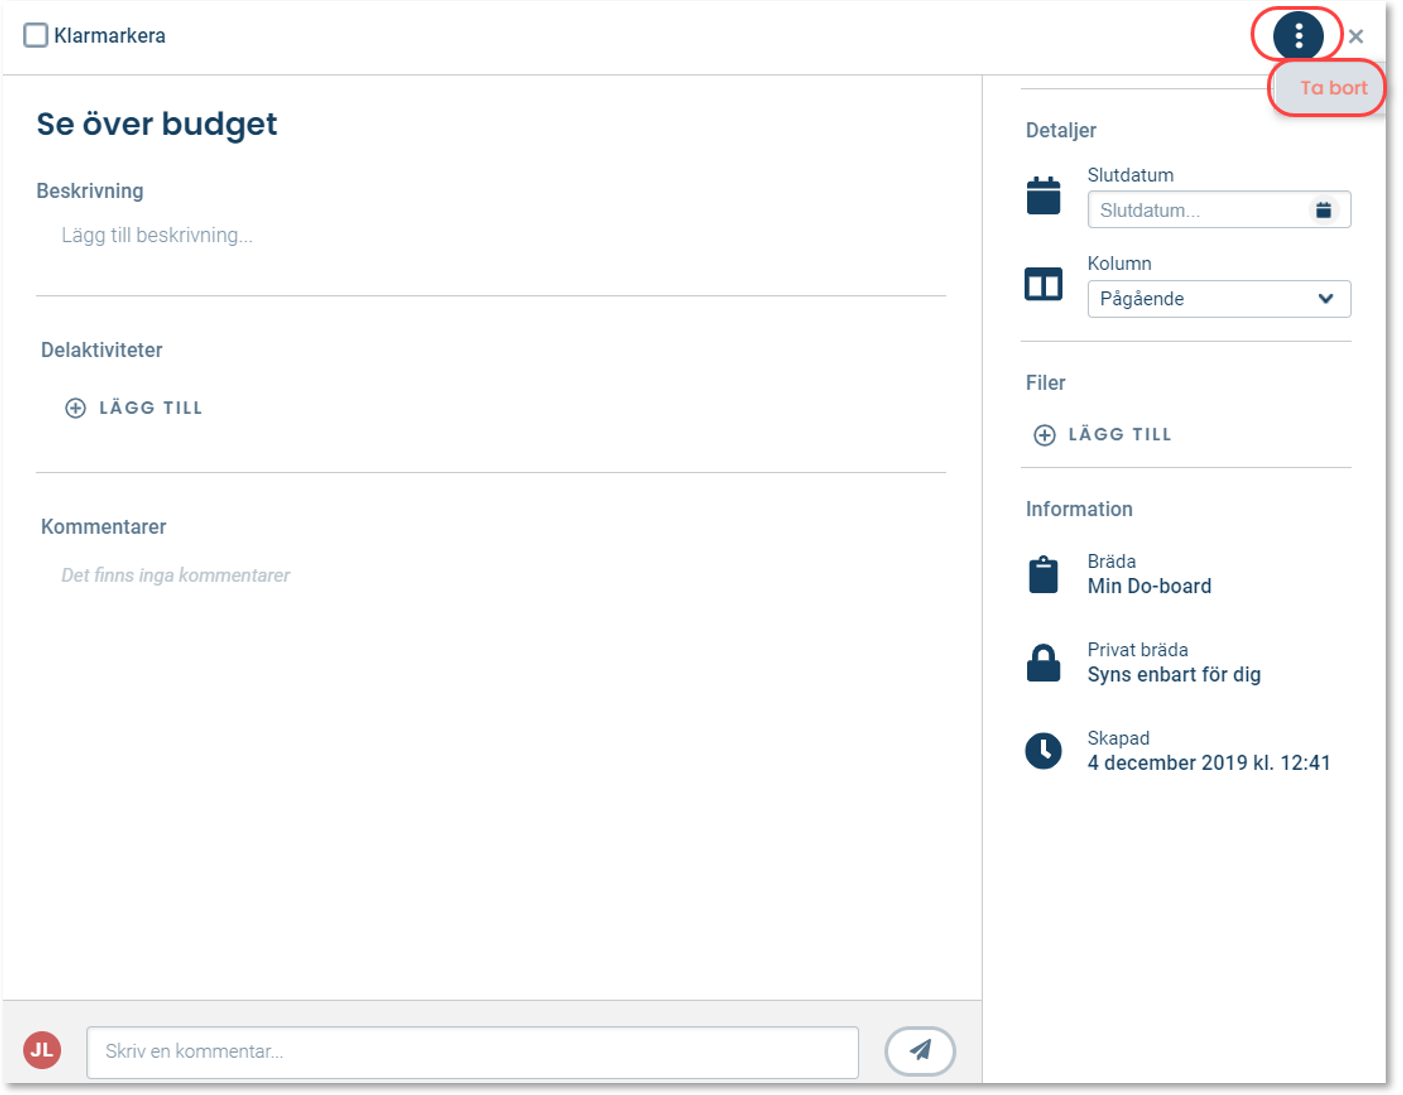
To remove an activity/card, click the three points in the top right and select remove:
Move activities between columns
You can easily move an activity from one column to another using drag and drop. In this way, an overview to see what is left to do, what is ongoing and if something is clear.

Information about each card directly on the board
If information has been added to the activity, icons will appear to give an indication that there is more information in the event:
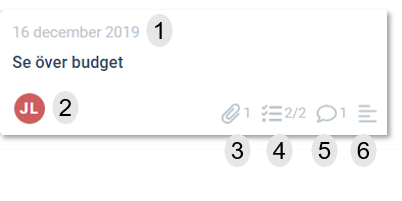
- Deadlinedatum
- Responsible/Responsible
- Attached files and number
- Subactivities and number
- Description
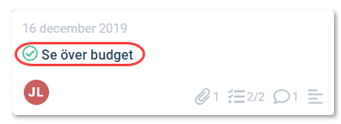
Activities that have been clearly marked also get a green block to the left of the activity Name:
Clear mark several activities at the same time
If you want to clear all activities in a column, you can do this in one fell swoop by clicking on the three dots in the right corner of the column and selecting "Clear check everyone."
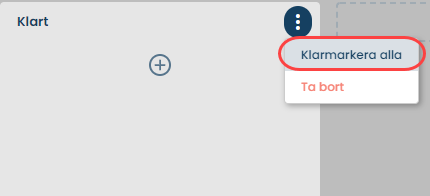
Have you happened to clear-mark activities that should not be clearly marked? No problem! Click on the activity and tick out the clear mark.
Filter and search the board's activities
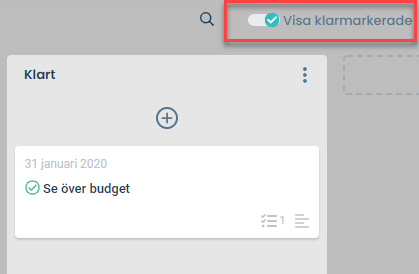
Filter on clear-marked activities
Activities marked as clear can be filtered out/removed from the board with using the function in the top right of the board.
Search for individual activities
With the help of the search function on the board, you can search all activities. It is found at the top right of each board. Right now, you can search the names of the activities.
