Quick links:
About products and menus
Product and menu
It is through the menus that the user accesses their landing pages, views, and reports to continue working with planning, follow-up, and reporting in Stratsys.
Each menu is linked to a product, whose icon is displayed on the left. A product can in turn contain one or several menus, and a menu can contain entries to several different views.
Access to menus and views
The user can have access to one or several menus, which is controlled by permission groups. What you are allowed to do in the different views that the menus provide access to is also controlled by permission groups – so it is not enough to only get access to a menu, you must also have the right to work with the nodes shown in the menu’s views.
Example
Below you see a left-hand menu where we find the product “Strategic Planning” which, among others, contains the menus “Strategic Planning” and “Test BYO” – if the product only has one menu, the grey expandable area is not shown.
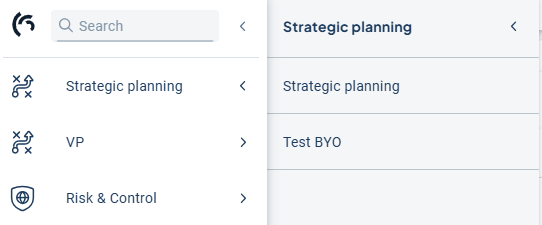
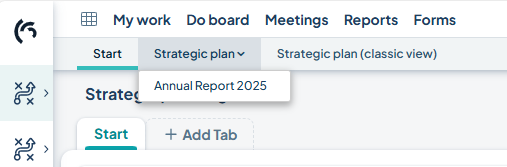
When a menu has been selected, you gain access to the different menu tabs, which are grouped in a way that fits your organization’s workflow. Each entry leads to its own area, usually a view, that is adapted to the process.
Menu
A menu is a collection of views, reports, and dashboards that are set up to guide the user through the steps that should be carried out in the process.
If you are working with multiple products in Stratsys, we recommend placing them in separate product menus as shown above. For example: one for Risk and Control and one for the operational plan.
Under the menu settings, you can make both general settings and specific settings for individual menus. You will find these settings here:
Add a new menu
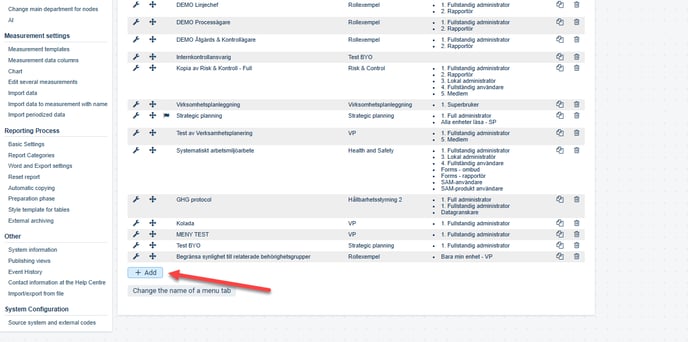
To add a new menu, click the Add button at the bottom of the existing menus. Give the new menu a Name and click Save.
-
Name your menu
Enter a suitable name that makes it easy for users to find. 
-
Choose Standard Menu or Process Layout
Select whether you want a standard menu or process layout. Standard is used if you do not tick process layout.-
The standard menu looks like this:

-
The process menu, on the other hand, has arrows between the menu tabs, indicating that you follow a certain order in the process:

After activating process layout for the menu, you can also decide whether the first and last tabs should have the process layout or not. Below is an example where the first and last tabs do not have process layout:
-
-
Automatic switch to a specific version
If you select process layout, you gain access to the function that automatically switches the menu to either the current version or the planning version. The default, however, is that the user chooses the version themselves:The standard menu instead allows you to choose whether the tab should be shown in the menu depending on which version is currently selected:
-
Restrict visibility to related permission groups
This means that the permission groups selected for the menu determine which units will be available in the organization selector. -
Product
Select which product the menu belongs to. If, for example, you select Risk and Control, users will find the menu under the Risk and Control icon.Which products you can choose from is determined by your global administrator.
-
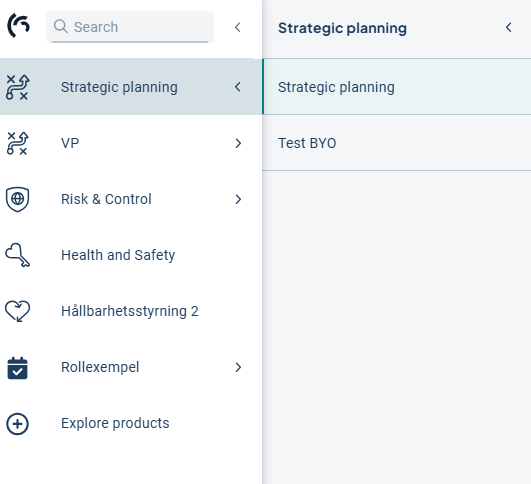
 The menu will now appear under the icon in the left-hand menu. It is possible to link several menus to one product. In that case, all menus are displayed as submenus as shown below.
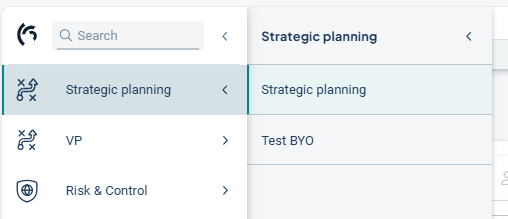
Menu structure
Here you add the structure and content your menu should consist of.
Steps:
-
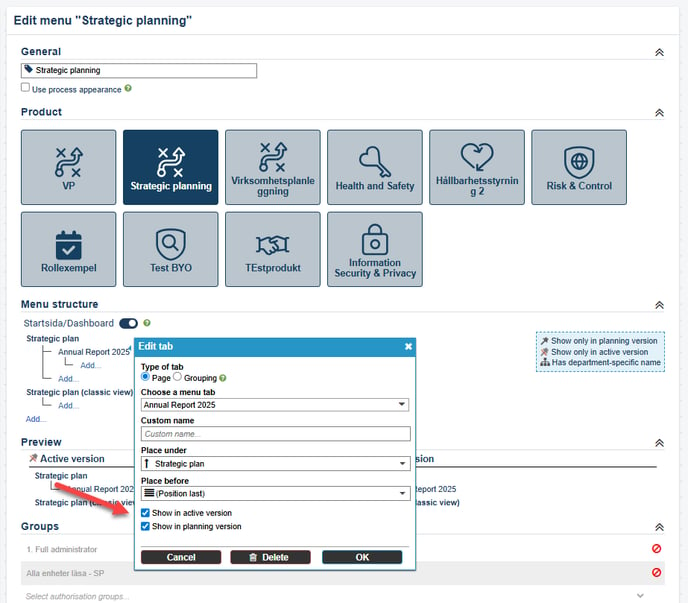
Click Add to create or update the menu structure.
-
Select Page or Grouping
-
Page = the first level is clickable
-
Grouping = the first level is not clickable, only the submenus can be clicked
-
-
Select a menu tab and give it a name
-
Select whether the menu step should be visible in the current version, the planning version, or both
Once this is done, the structure will be updated and you can add more items. In the example below, the new menu structure we created is shown with this icon , meaning that the menu tab will automatically switch to the planning version according to the settings shown above.
Example:
-
Preview
Here you see how your menu will look in both the current and planning versions: -
Permission groups
Select which permission groups should have access to the menu.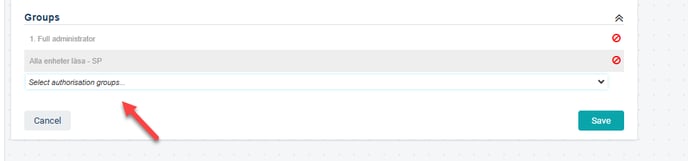
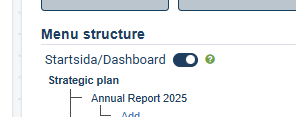
Disable Dashboard for the menu
If you want to disable the Start Page/Dashboard for the menu, you do this in the menu structure.
No content is removed. For example, gadgets remain in the background.
Edit a menu
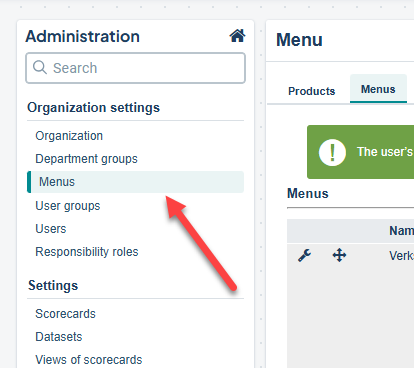
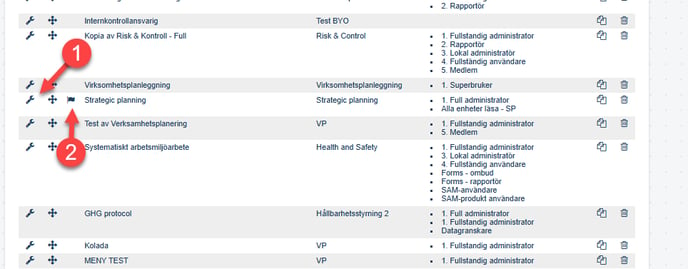
If you want to view or edit an existing menu, go to Administration and select Menus. Click the wrench icon to the left of the menu name (1).
The currently active menu is marked with a flag (2). If it is the active menu you want to edit, click the wrench for this menu.
See the section Add menu for how to make changes.
Move a menu tab
Within the same level, you can set how the different menu tabs should be sorted. You can also drag and drop menus into the desired position within the menu structure.
Copy a menu
Click the Copy icon for the menu you want to copy. You can then rename it and save.
Delete a menu
To delete a menu, click the Trash can to the right of the menu name. Confirm deletion by clicking OK in the pop-up box.
Delete a menu tab
Click the menu tab and then select Delete.