This article explains how to add, modify, and remove activities using the object window and in a New Table-Tree Structure view.
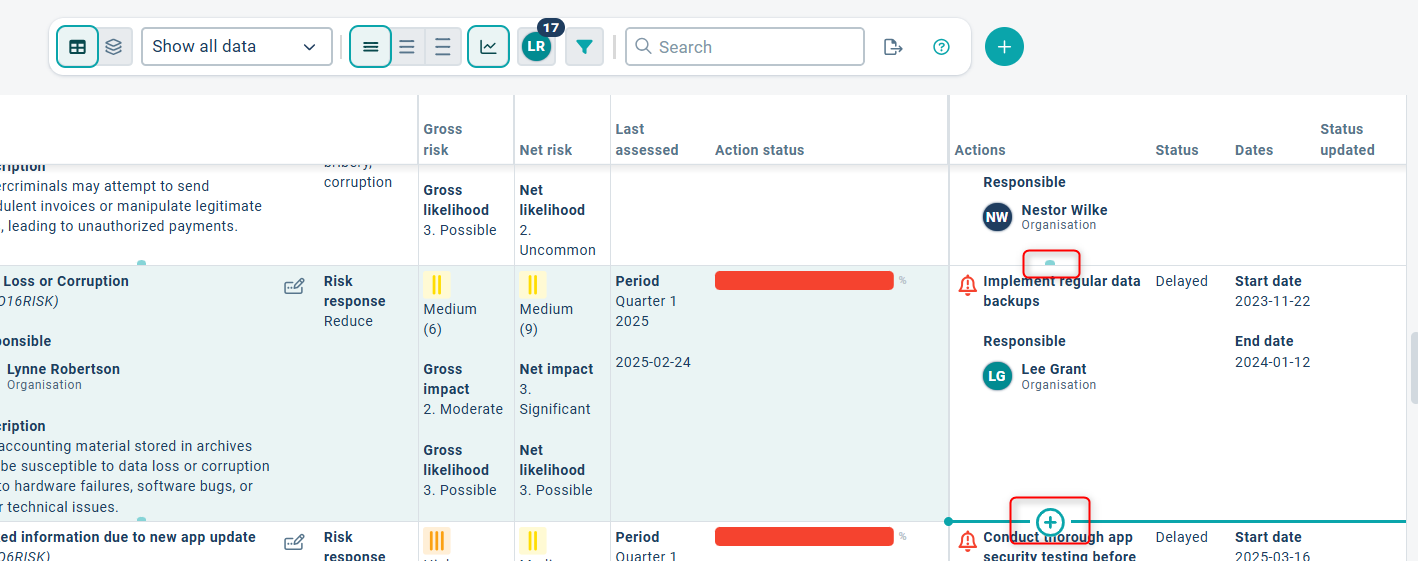
To add a new activity, click on the plus sign that appears when you hover your mouse over the crescent moon icon in the activity column. Once you click the plus sign, the object window will automatically open to the right of the view:
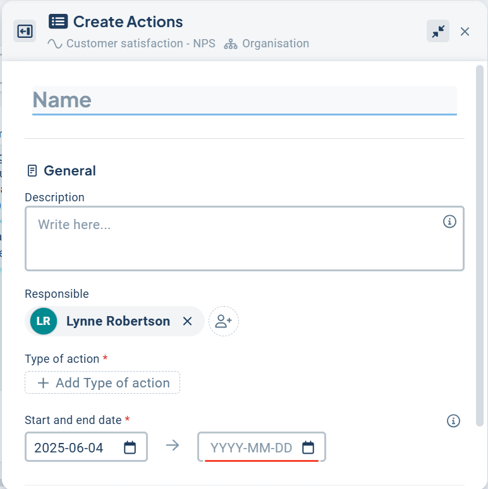
Object window:

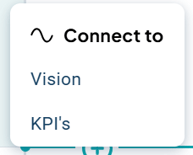
When adding an activity, you will be presented with an option to choose which object you want to link it to after clicking the plus sign. The way information is linked is governed by the system's linking rules, which you, as a user, cannot modify. However, you can select the specific object to which your activity will be connected.
In this case, you have the option to associate the activity either with a Vision (text) or a KPI (metric):
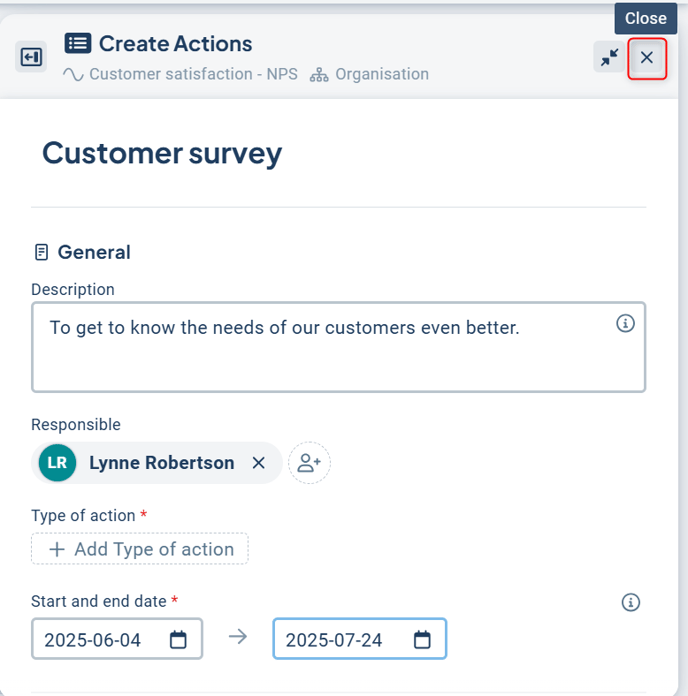
In the object window, all settings are displayed on a single page, eliminating the need to switch between tabs to access different options. This window is organized into sections for your convenience. The first section, "General," includes the name of the object and typically features several fields related to the type of activity you wish to add. Examples of these fields may include a description, desired outcome, participants, and more. If your organization assigns responsibilities, this is also where you will define who is responsible for the activity.
The person assigned to the activity will receive reminders for follow-up, provided that the to-do list is configured accordingly. They will be responsible for updating the activity's status accurately and may also need to add comments as necessary. The specific requirements for follow-up will depend on how your product is configured.
Each activity must have a start date and an end date, which define the duration of the activity. In the current version, today's date is automatically set as the start date. However, in the planning version, the start date will default to January 1st of the planning year, unless the calendar year has already changed; in that case, it will also default to today's date, just like in the current version.
In some cases, there are activities that recur annually. To facilitate the management of these activities, there is an option to work with recurring activities. However, this feature must be enabled by your administrator in order for you to utilize it effectively.
By utilizing recurring activities, the start and end dates of the activity will automatically advance by one year, and its status will be reset during the database versioning process. This occurs when your planning year transitions to the current year and the previous year is archived. Typically, versioning takes place between January and April.
Tips! If you're unsure about the meaning of any setting, you can click on the info button for more information and assistance. Don't forget to also refer to the help text available in the view!
Click on "Create" to make the activity visible in the view. If you wish to distribute the activity to additional units or add further connections, several sections will become visible in the object window as soon as you click "Create."
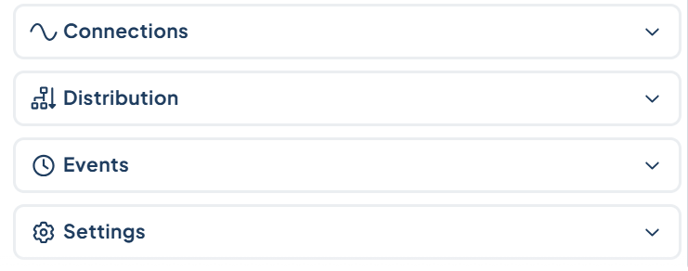
Connections
Connections illustrate how information within the system is interrelated and governed by the established linking rules. As a user, you cannot modify these linking rules, but you must adhere to them when connecting or reassigning information.
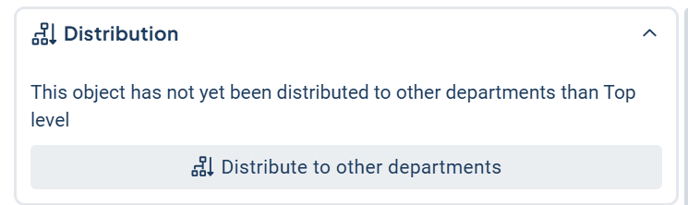
Distribution
Activities can be distributed to subordinate units if desired, allowing them to view and report on the status and add comments from their respective levels. For an activity to be assignable to these subordinate units, the node associated with the activity must also exist; otherwise, the chain will be broken, and distribution will not be possible.
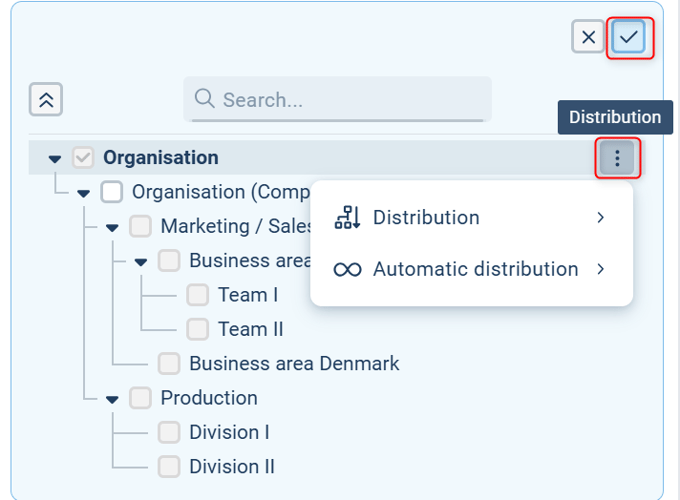
Distribution - Here, you can quickly select distribution options based on predefined choices, such as "+1 level down." Additionally, you have the ability to uncheck any selected levels to remove the object from them. Please note that if subordinate units have created other objects linked to the activity, those will be lost if you remove the distribution.

Automatic distribution means that when new units are added to the organizational hierarchy below your level, these units will automatically be assigned the activity. This feature is particularly useful for activities that are relevant to a whole branch of the organization. You can enable automatic distribution in the same way as illustrated in the previous section.
Once you have made your distribution selections and activated automatic assignment, you will need to confirm this action by clicking the confirmation button.
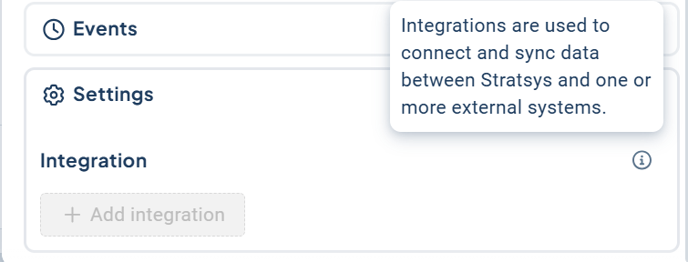
Events
Displays the most recent activities associated with the object, such as when the object was created and any changes that have occurred.
Settings
In the settings section, you have the option to add integrations based on the available source systems.
The activity is saved automatically
You do not need to click a save button; simply closing the object window is sufficient for your information to be saved. Once you close the window, a dialog will appear confirming that your information has been saved.
To close the object window, click the "X" in the upper right corner.
Create an activity using AI
If your organization has an AI license and has enabled the feature to generate activity suggestions, you will see this option at the top of the object window.
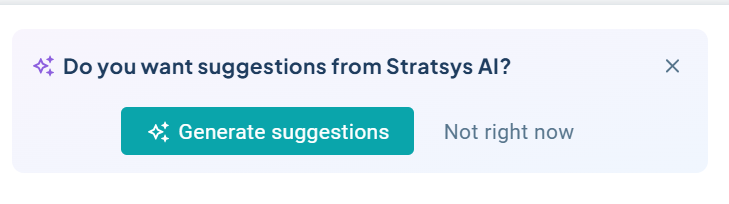
Click on "Generate Suggestions" to leverage the AI's capabilities. The AI will then produce three suggestions based on the object to which the activity is linked:
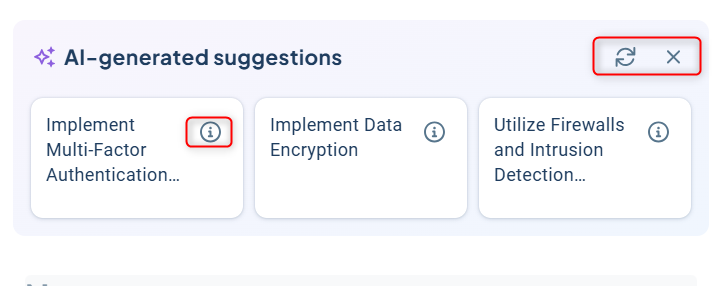
Click on the info button to view a description of the suggestion. If you have a description field associated with your activities, you can consider placing the description there. If you are not satisfied with the suggestions provided, you can click on "Refresh" to generate new options. To hide the AI-generated suggestions, simply click the "X."
To select a suggestion you wish to use, click on it, and the activity will adopt that name. You will then need to proceed through the remaining settings as outlined in the previous steps before your activity is complete.
Edit or delete an activity
To edit an activity object, simply click on the activity in the view. This action will reopen the object window, allowing you to make your desired changes.
Once you've made the necessary adjustments, just close the window; your changes will be saved automatically.
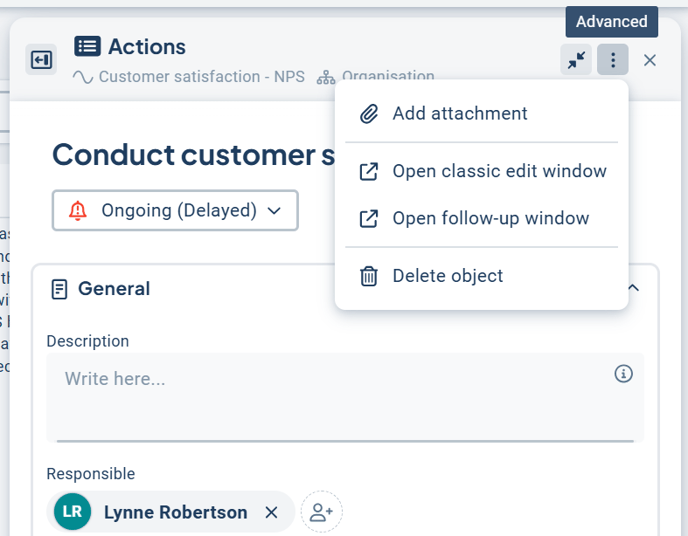
If you wish to delete an activity object, you can do so via the three-dot menu located in the upper right corner of the activity. This menu also provides the option to attach files to the object.
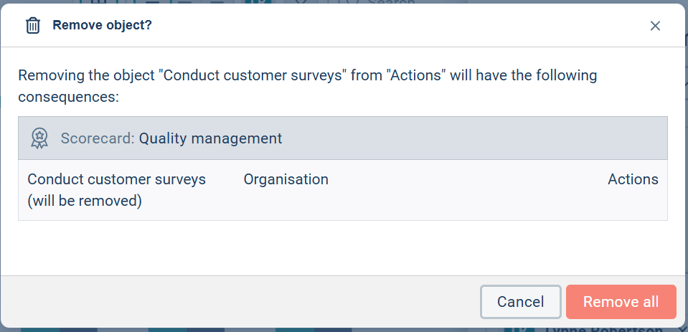
You will then receive a summary of the implications of the deletion. To proceed with removing the object, you need to click on "Remove all," as shown in the image below.
If you are working in the planning version, you will first have the option to mark the activity for deletion. Activities that are marked for deletion will automatically be removed during the versioning process. If you wish to delete an activity immediately without waiting for versioning, you can reopen the marked object and delete it using the three-dot menu as described earlier. This action will remove the object from the planning version while still retaining it in the current version.
Click on the info icon to obtain more information about your choices.

Activities marked as complete in relation to versioning process
Activities that have been marked as complete in the current year are typically archived during the versioning process. This means that these activities will automatically disappear from view, as they are considered finalized. If you wish to continue working on certain activities on a recurring basis, we recommend utilizing the recurring activities feature, which you can read more about above.
Please note! Activities marked as complete are typically filtered out automatically in the planning version before the versioning process. To view these activities, you can filter for those that also have a status of "completed" in the view. If this option is not available in the filter dropdown, please contact your administrator, who can add this option for you.